How To Make Dumplings

Today I’m sharing how to make Japanese dumplings!
Philly is the city of cheesesteak, my home town Utsunomiya, Tochigi, is the city of dumplings in Japan! You can find so many posters and ads of animated dumplings in my city, there are dumpling places everywhere, and there is even a statue of a dumpling! Since I grew up surrounded by dumplings, of course I know how to make them, and today I’m sharing how to make and cook traditional Japanese dumplings! I’ve been teaching my friends lately, and they absolutely loved it. There are few rules you have never heard of, but it’s actually not hard once you know how!
WHAT YOU NEED:

Gyoza (dumpling) skin - 2 packs
Napa cabbage ( better than normal cabbage! ) 5-6 leaves
Green onion/scallion
Garlic (optional) - 3 cloves
Ground meat ( I used chicken this day ) - 1 pack (16OZ)
Salt and pepper
Sesame oil - 3 table spoons
Soy sauce
Ginger powder (optional)
Depending on my mood, I change up the ingredients: sometimes I put A LOT of garlic, sometimes I put none. Sometimes I put tofu or shrimp instead of meat, add mushrooms or other favorite veggies. You can customize however you like, whatever your food preference is!

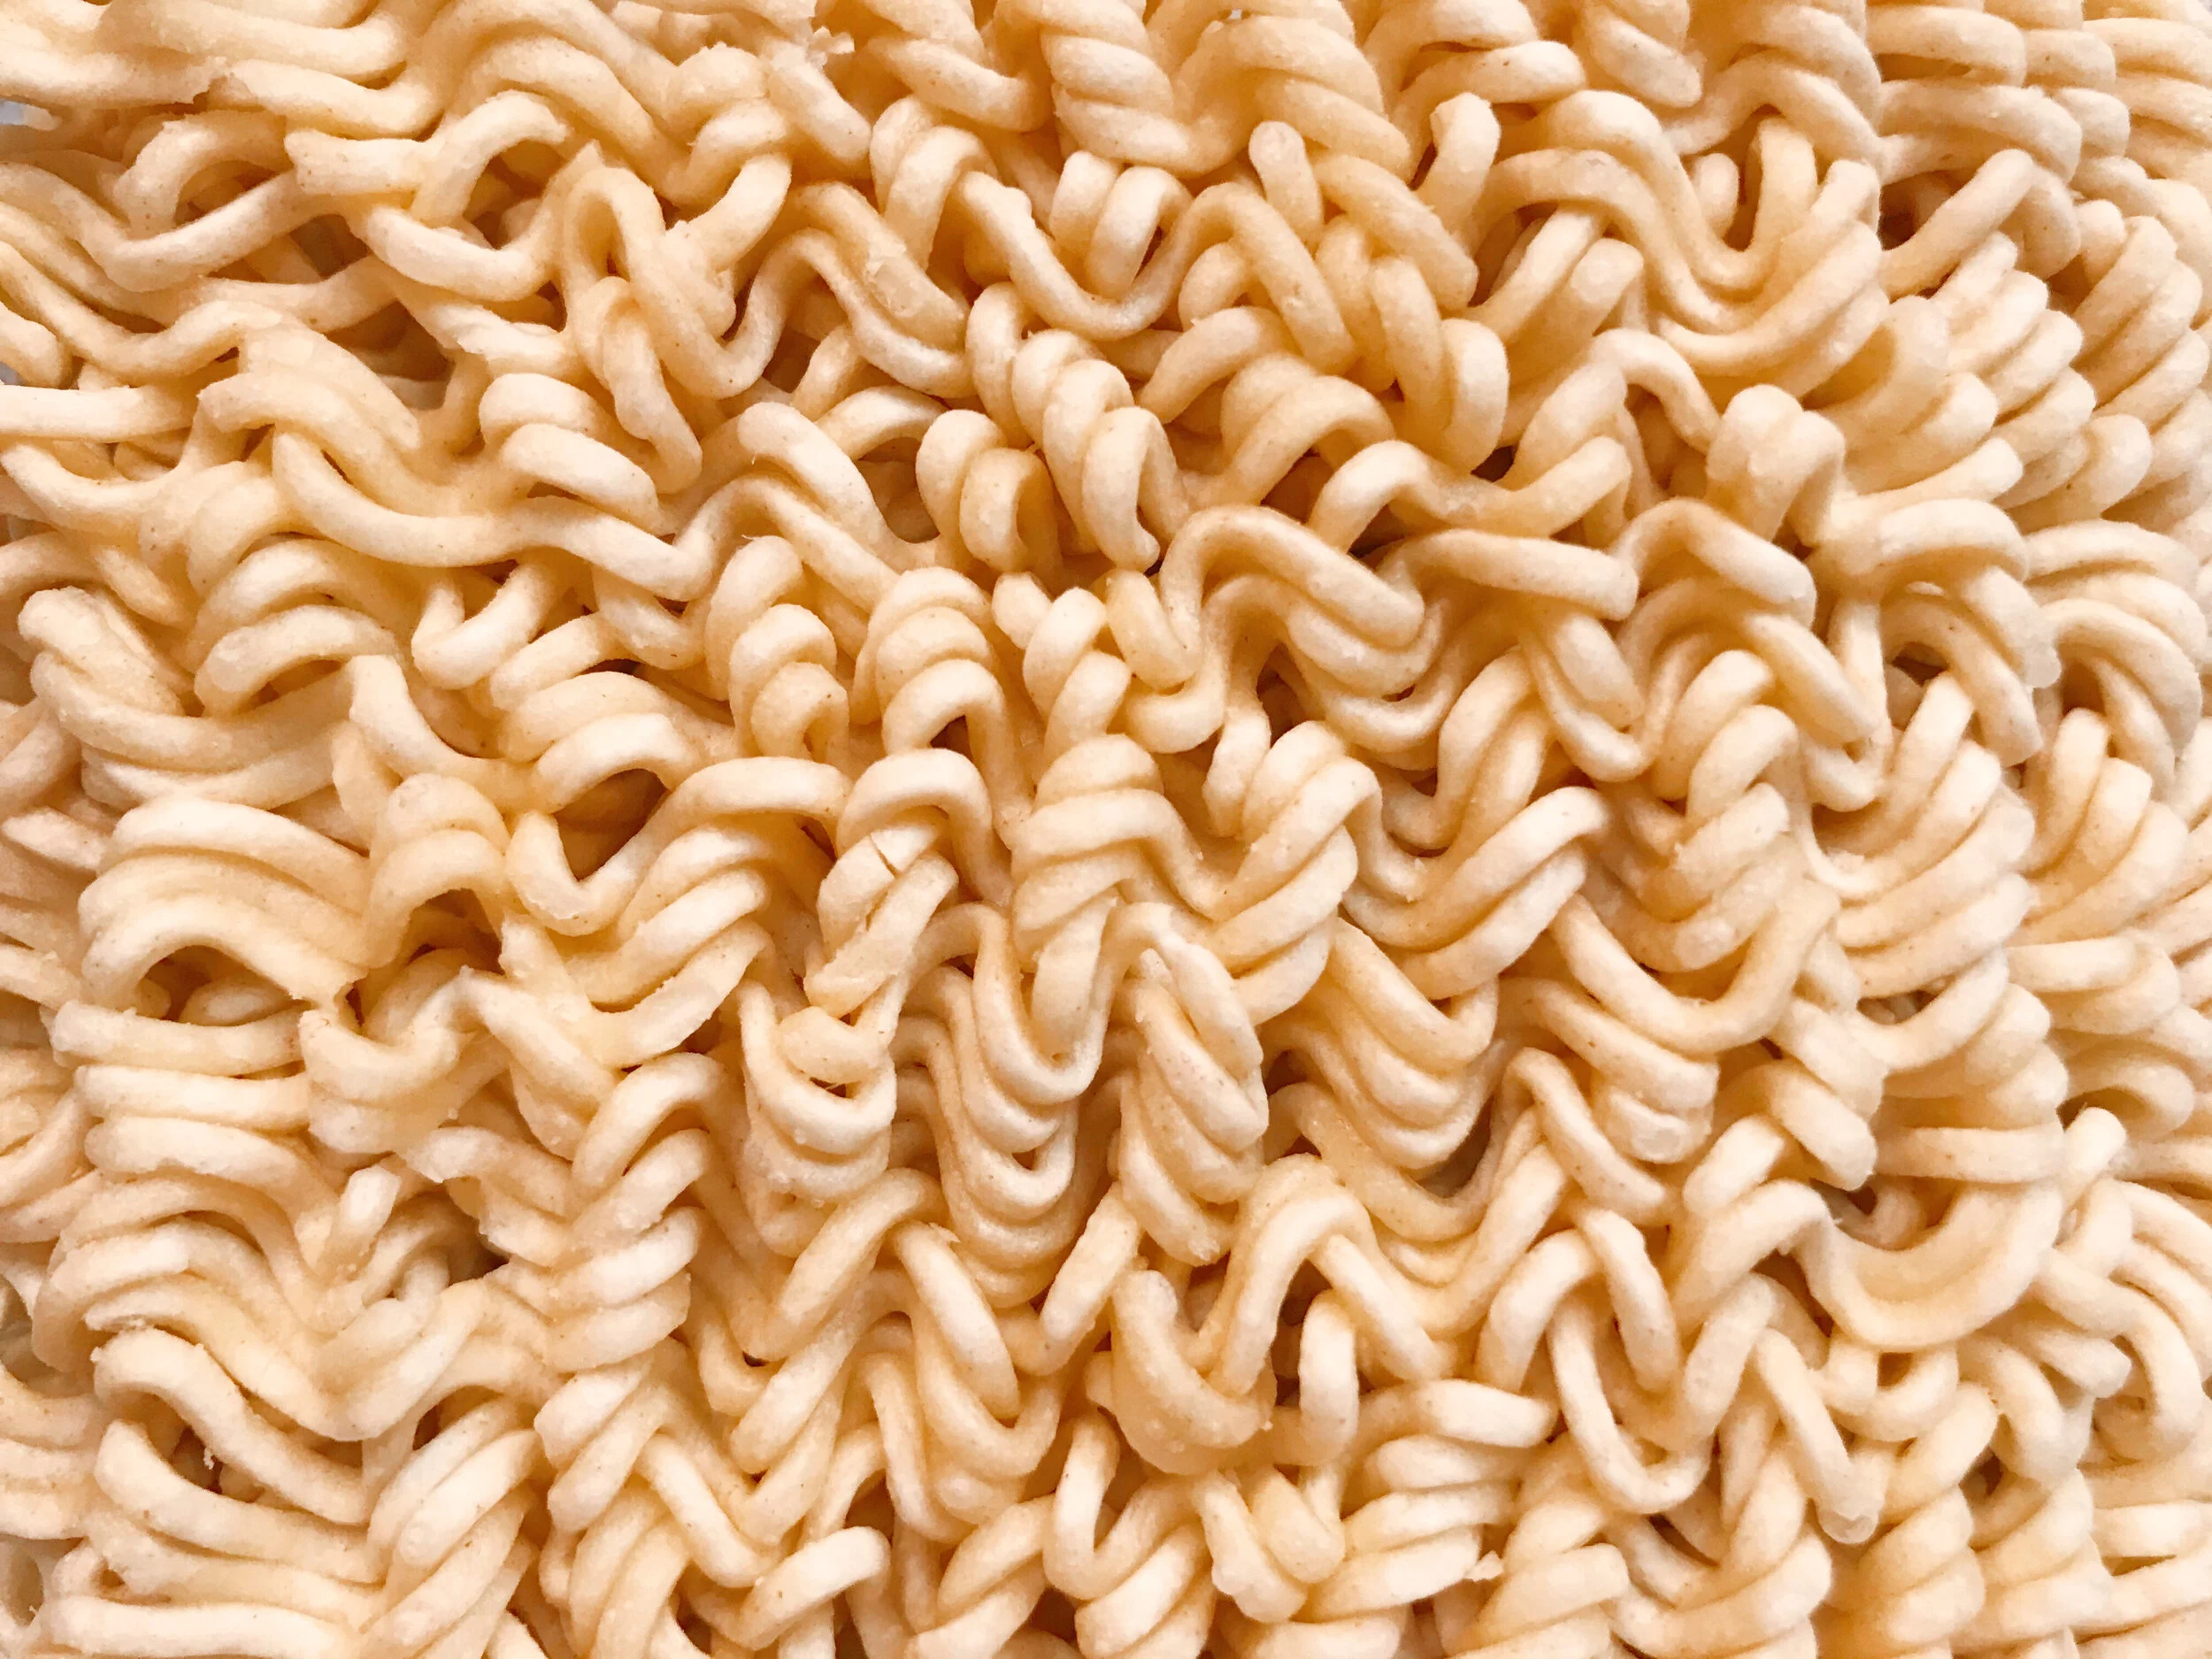
I stick with this dumpling skin all the time. If you are vegan, use spring roll skin since this product contains egg yolks!
Ok let’s start making them!
1: Chop the veggies small
2: Combine with meat

3: Add all the seasoning and mix
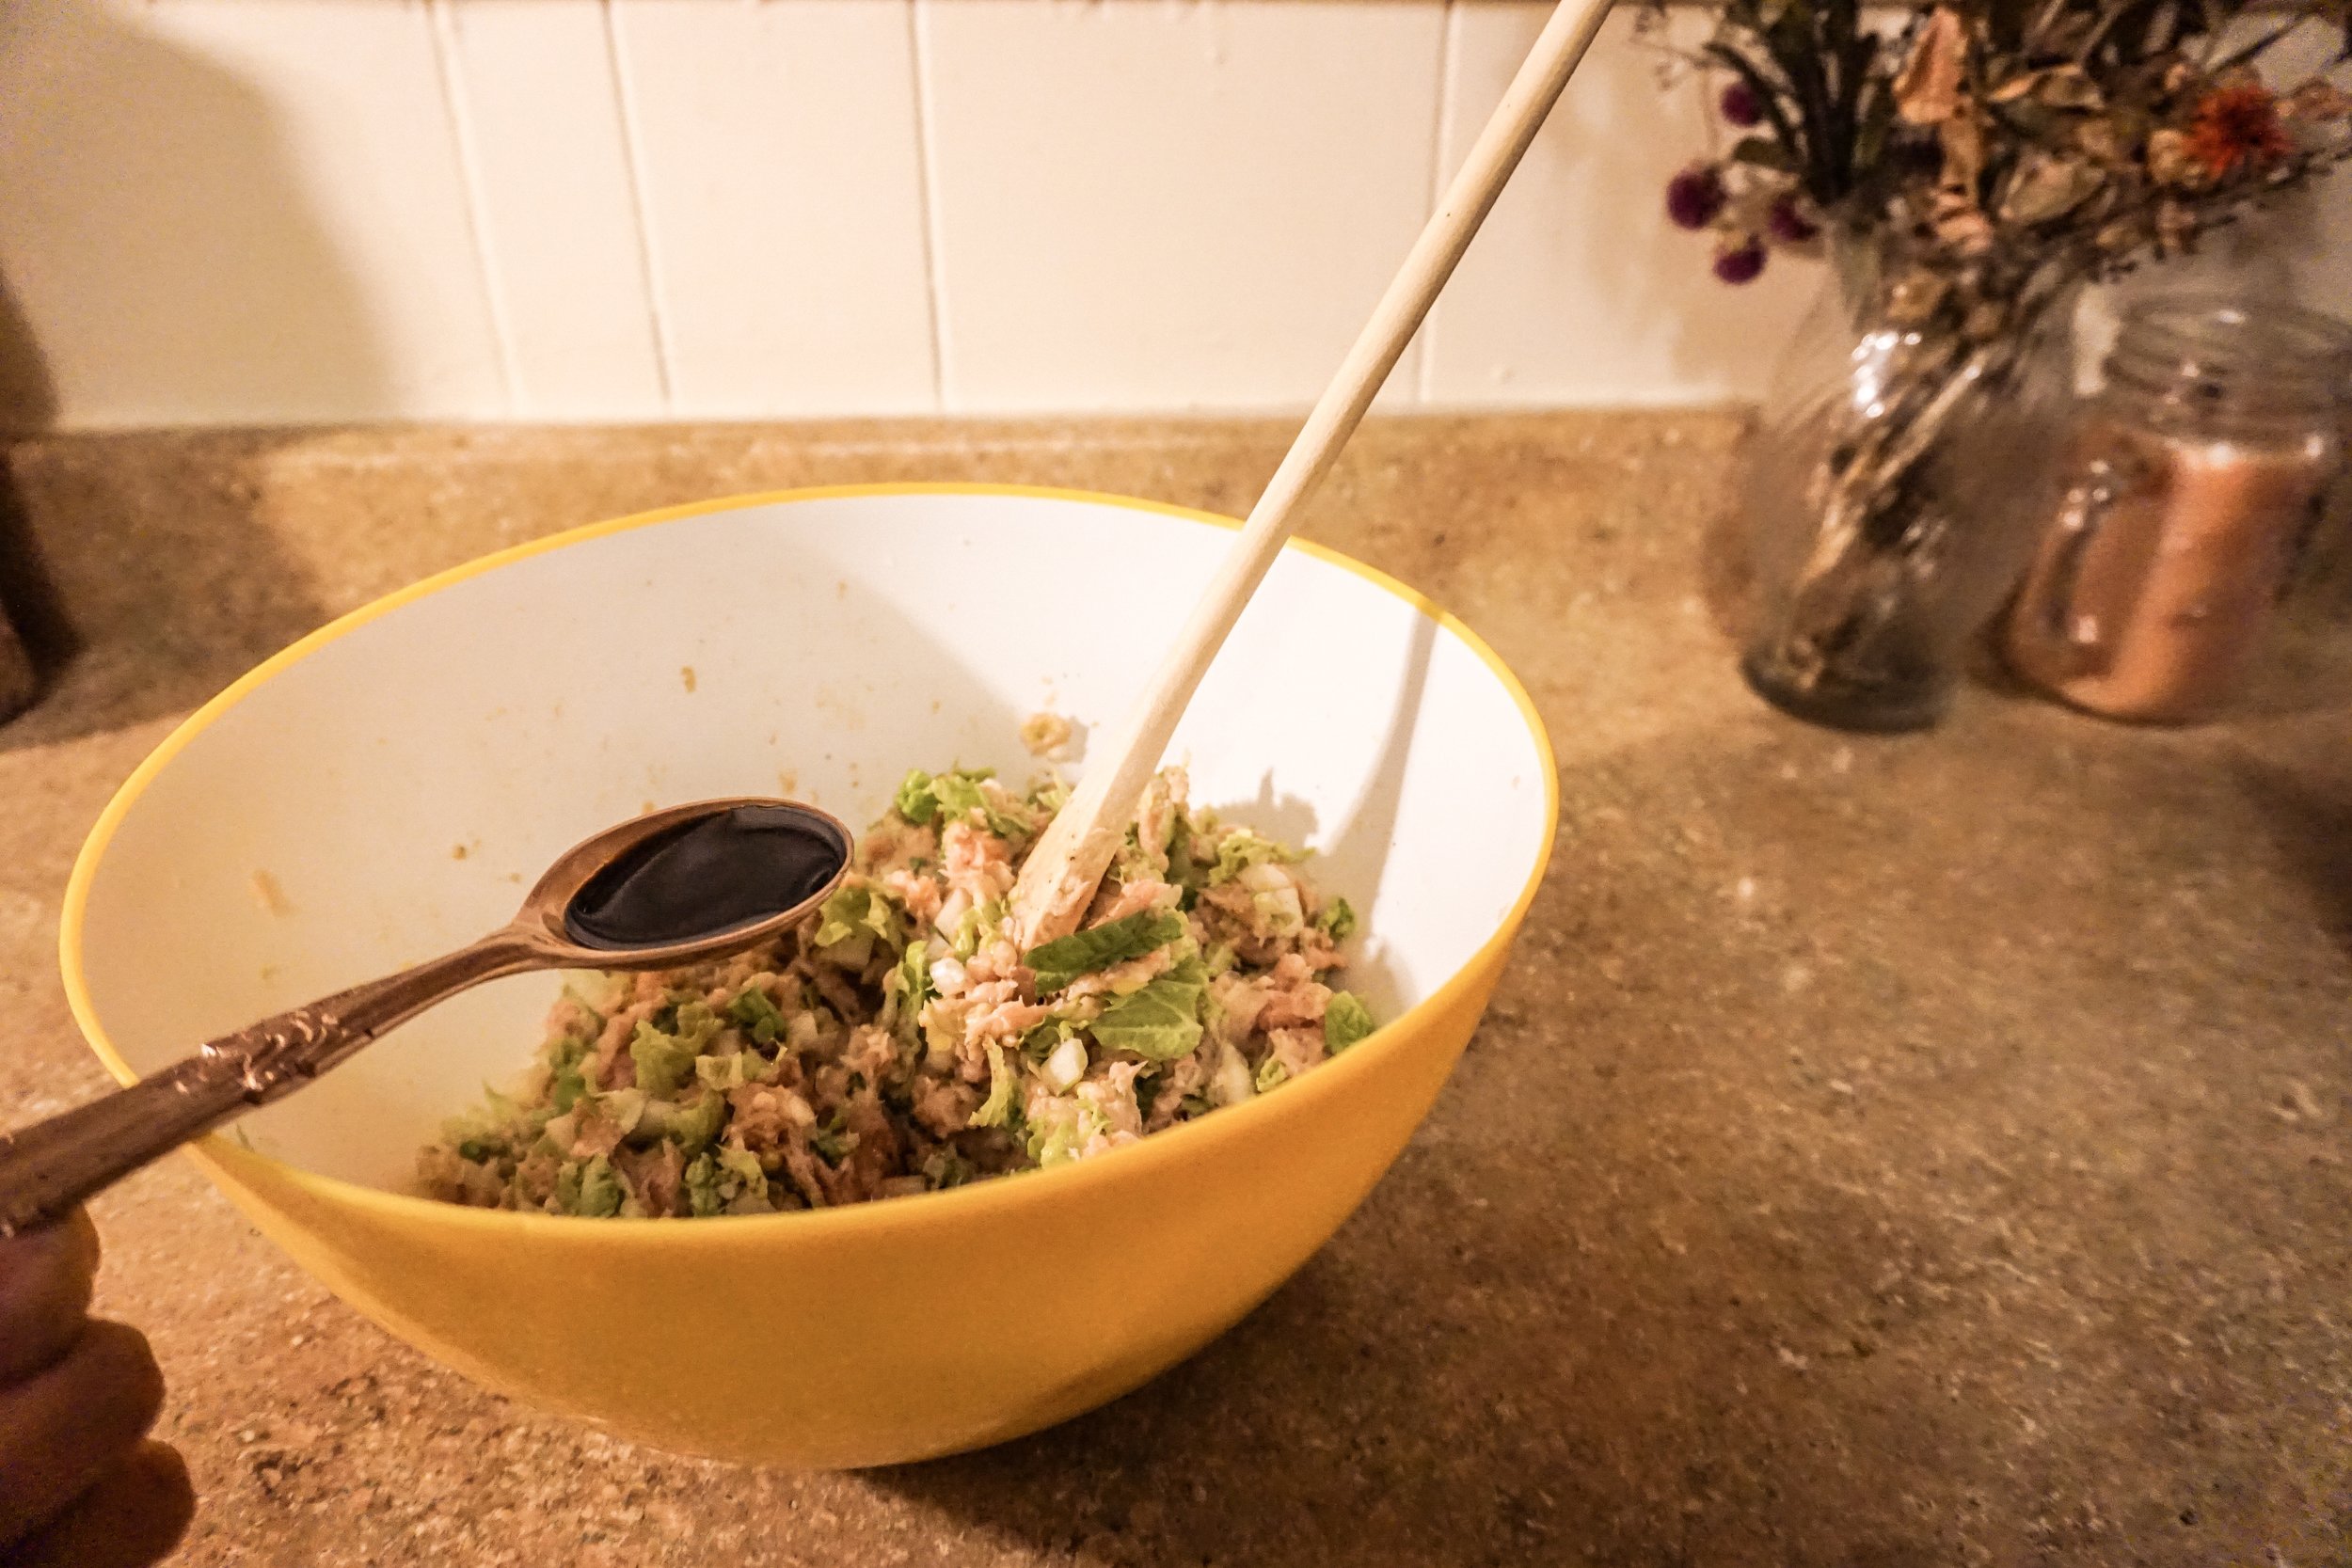
How much soy sauce? - it’s up to you - I usually put about 5 tbl spoons or more so the dumplings themselves have enough flavors and I don’t need too much dipping sauce.

It should look like this
4: FOLDING TIME! Here is an important tip - don’t stuff them too much! Put about 1 tea spoon!

5: Now you need a bowl of water - put water on half of the skin’s edge with your finger

6: Fold it in half, seal about a finger tip size on one end. You only fold one side - keep making pleats, and make sure every pleat is sealed well


Every country, state, city, home has different ways to fold, but this is the traditional way to fold in my city!
7: Reshape the dumpling like a half moon
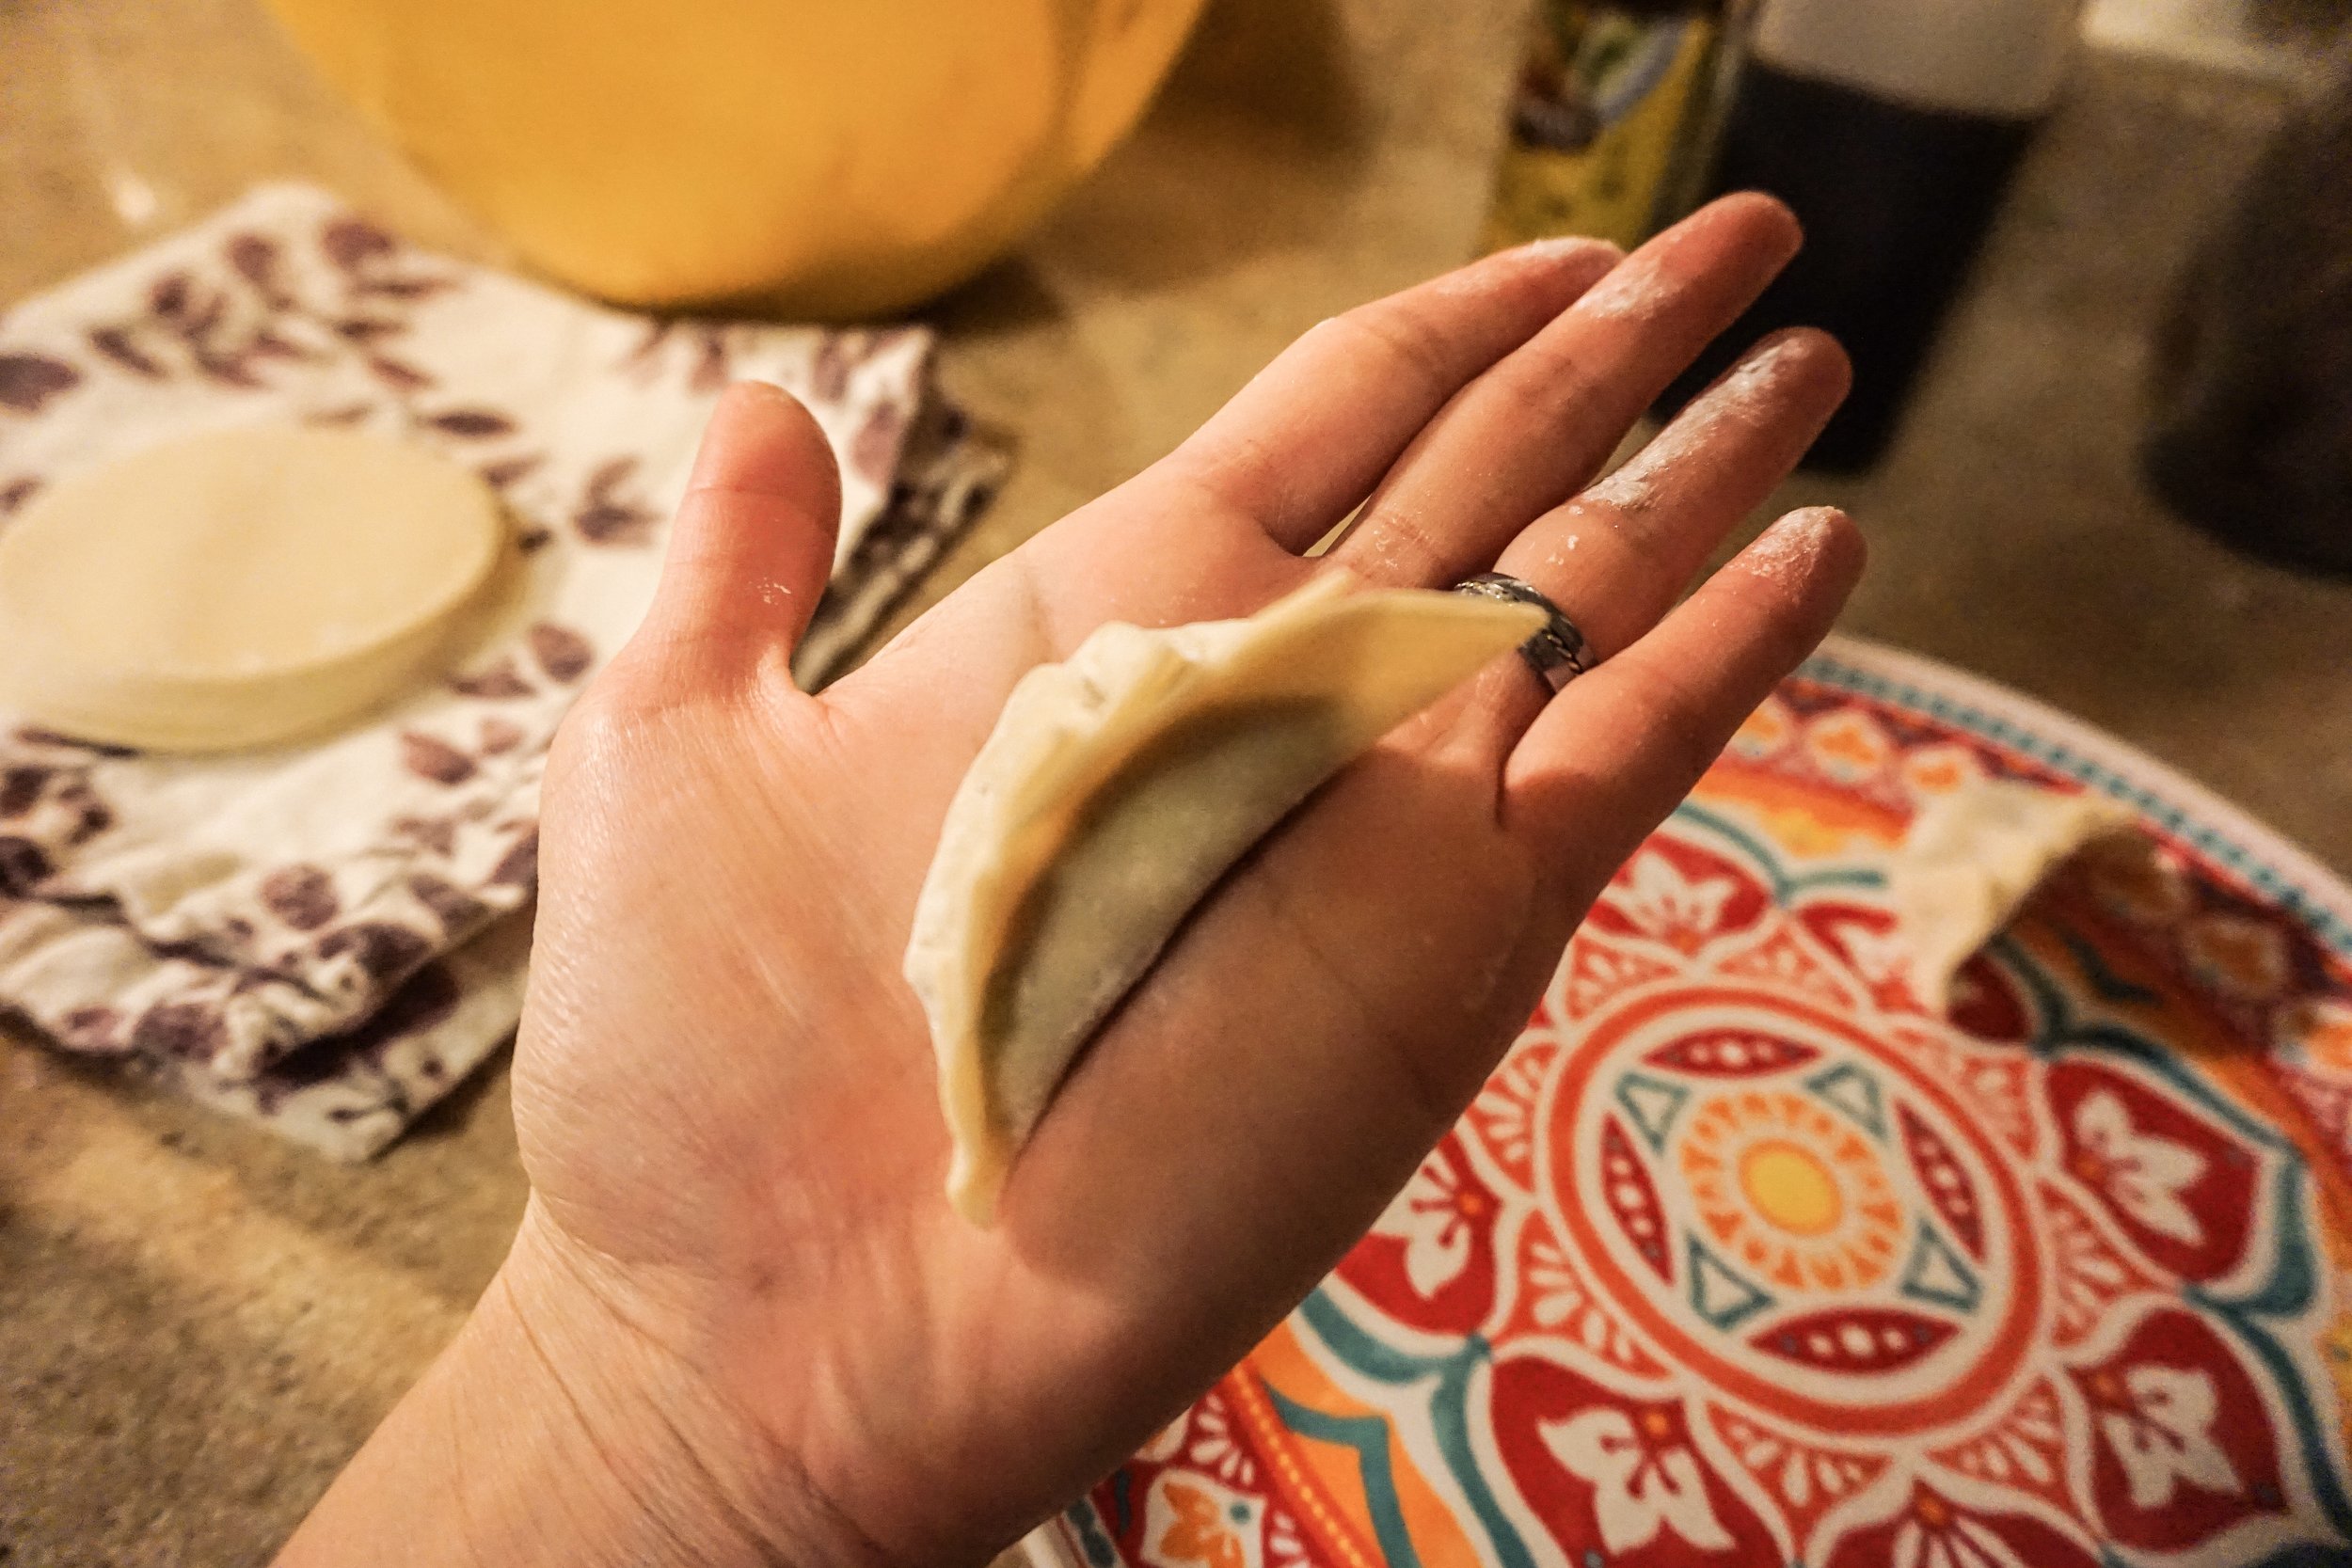

It takes time until here, but now it only taks less than 10 minutes to cook!
Today I’m cooking them in 2 ways: steamed and pan fried. I love deep fried dumplings too, but never ever boil the handmade dumplings unless you are making dumpling soup - all the good juice inside will be gone and wasted! ( I never boil the frozen dumplings neither! )
Steamed: cook until the skin is clear

Pan fried: put oil in a pan ( I usually use vegetable oil ), place them nicely and close to each other - you can place them in circle, or make few lines, however, make sure they are close to each other. I’ll tell you the reason in a second!

MMMMM
Now here is a hidden but important trick - put about 1/4 cup of water and immediately put the lid on! Be careful, the oil will splash!

So this way the top part gets kind of steamed, and the bottom gets fried crispy. Also, DO NOT FLIP THEM WHEN COOKING! The powder on the skins become nice and crispy , the reason why you put them close to each other is that this crispy parts of them will connect to each other and make even better crispiness, we call this crispy part “wings” in Japan. And the better the wings are, the more legit your dumplings are.
Cook a few minutes after the water is completely gone and stop the stove, put a plate on the pan and then flip. Serving the bottoms up is the proper way to serve pan fried dumplings. And then ENJOY!!

The plate on right is fried harder than the plate on left!

For the dipping sauce, I usually mix soy sauce and vinegar, which is the old fashion way, but the sauce part is totally up to you. My husband Eddie loves to use Ponzu, which is a mix of soy sauce and vinegar plus a hint of citrus. Sometimes I love to put brown sugar in to my mixers, add Japanese mayonnaise on top… get creative!
Aaaand this is it! Now you know how make them and I’m telling you, handmade dumplings are way better than the ones at the frozen section of grocery stores. I just made these the other day but I’m already craving more… Message me if you have any questions, and I hope you enjoyed my recipe today!
Have a magical week friends!